First Steps After Installation
1. Deploy Your First Project
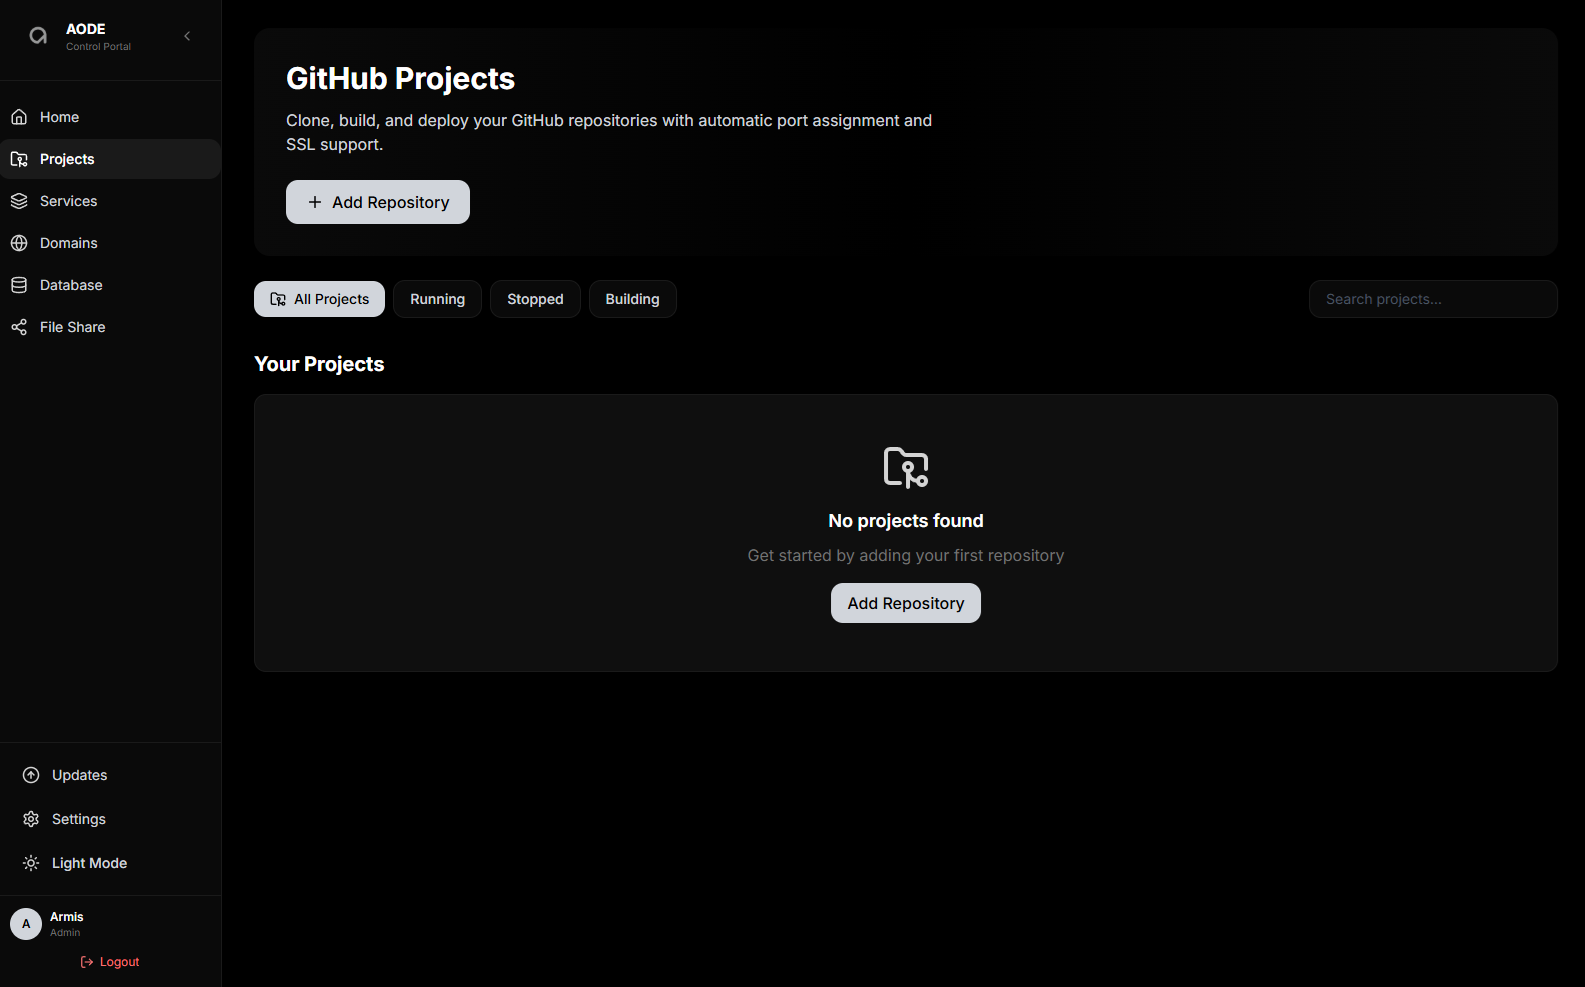
- Navigate to Projects: Click "Projects" in the sidebar
- Click "Add Repository"
- Fill in the form: repository URL, branch, subdomain, and enable auto-start
- Click "Create Project"
- Monitor build progress: Watch real-time logs
- Access your app:
https://hello.yourdomain.com
Build time: 2-5 minutes (depending on project size)
2. Configure Custom Domain
Prerequisites: Domain name purchased and access to DNS settings.
- Configure DNS at your domain registrar: Type A, Name @, Value YOUR_SERVER_IP, TTL 300
- Wait for DNS propagation: 5-60 minutes
- Verify DNS: Run
dig yourdomain.comto check it shows your server IP - Add Domain in AODE: Navigate to "Domains", click "Add Domain", enter domain, select target project, enable SSL, click "Add Domain"
- Wait for SSL: 2-5 minutes for Let's Encrypt certificate
- Access:
https://yourdomain.com
3. Set Up GitHub Integration (for Private Repos)
- Generate GitHub Personal Access Token at github.com/settings/tokens
- Add Token to AODE: Navigate to "Settings" → "My Profile", scroll to "GitHub Personal Access Tokens", paste token, save it
- Deploy Private Repo: Now you can deploy from private repositories using HTTPS URL
Deploying a Project
Simple deployment process:
- Push your code to GitHub
- Open AODE Portal
- Projects → "Add Repository"
- Enter repository URL
- Click "Create Project"
- Wait 2-5 minutes
- Your app is live
Supported Project Types
- Next.js, React, Vue, Angular
- Node.js, Express, NestJS
- Python (Flask, Django, FastAPI)
- Go, Rust, Java, PHP, Ruby
- Static sites (HTML/CSS/JS)
- Custom Dockerfiles
Managing Your Projects
Start/Stop: Click project name, then click "Stop" or "Start" button.
View logs: Click project name, scroll to "Logs" section, auto-refreshes during build.
Update code: Push to GitHub, click "Redeploy" in AODE, latest code is deployed.
Add environment variables: Click project name, scroll to "Environment Variables", click "+ Add Variable", enter KEY and VALUE, click "Restart" to apply.
Delete project: Click project name, click "Delete" button, confirm deletion.
Configure Custom Domain
AODE allows you to connect custom domains to your projects and automatically provisions SSL certificates using Let's Encrypt for secure HTTPS connections.
Each domain can be associated with a specific project, and AODE handles the SSL certificate provisioning and renewal automatically.
Adding a Custom Domain
- Configure DNS: Point your domain's A record to your server IP address
- Wait for DNS propagation: 5-60 minutes
- Add Domain in AODE: Navigate to "Domains", click "Add Domain"
- Enter domain name and select target project
- Enable SSL Certificate: Check the option to automatically provision HTTPS encryption
- Click "Add Domain"
- Wait for SSL: 2-5 minutes for Let's Encrypt certificate provisioning
Important: Before adding your domain in AODE, ensure your domain's DNS A record points to your server IP address. This is required for the domain to resolve correctly.